
Introduction: The Magic of Inspection Cameras
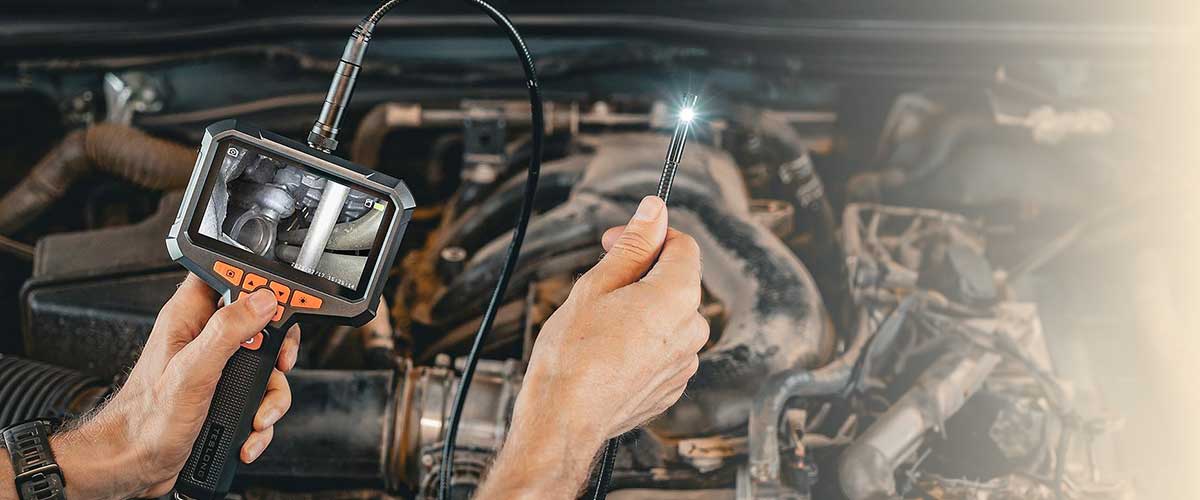
Inspection cameras, often referred to as borescopes or endoscopes, are remarkable tools designed to delve into hard-to-reach areas where the naked eye simply can’t go. These ingenious devices combine advanced optics and digital technology to provide clear, real-time visuals of hidden spaces. Whether you’re a professional plumber diagnosing a stubborn pipe issue, an auto mechanic checking engine components, or a DIY enthusiast wanting to inspect your home, an inspection camera is an invaluable ally. They save time, reduce guesswork, and can potentially save you a considerable amount of money by catching problems early.
Choosing the Right Inspection Camera for Your Needs
Not all inspection cameras are created equal. When selecting one, consider your specific needs and the types of projects you’ll be tackling. There are various types of inspection cameras available: some are compact and portable for quick inspections, while others boast high-resolution images and advanced features for more complex tasks. For example, a camera with a flexible, long probe is perfect for maneuvering through tight spaces, while one with adjustable lighting can enhance visibility in dark environments. Assess your primary applications—whether it’s plumbing, automotive repair, or electrical work—to ensure you choose a camera that meets your requirements and fits your budget.
Getting Familiar with Your Inspection Camera
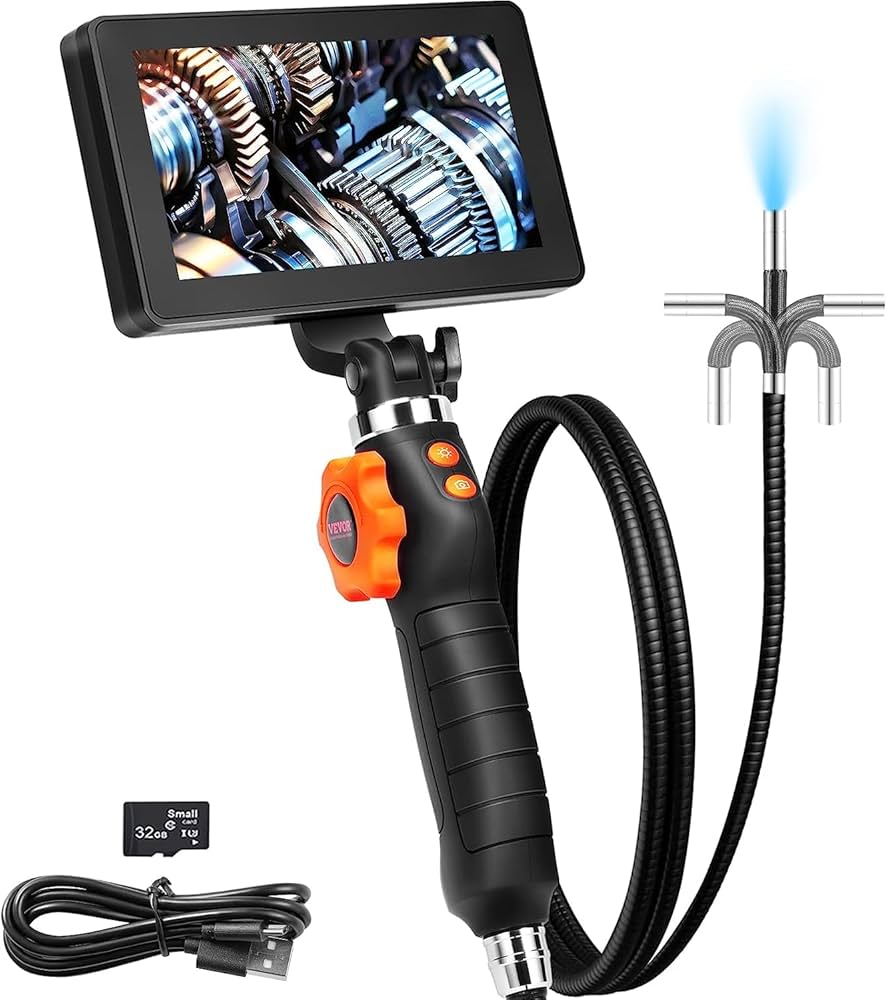
Once you’ve chosen your inspection camera, it’s time to get acquainted with its components. Most inspection cameras consist of a lens, a cable, a monitor or display, and various controls for functions like zoom and brightness. The lens is the eye of the camera, capturing images and videos; the cable connects the lens to the display, often allowing you to navigate tight spaces without needing to move the entire unit. Familiarizing yourself with these components and their functionalities will empower you to use the camera effectively, ensuring you capture the best visuals possible.
Setting Up Your Inspection Camera for Success
Before diving into your projects, proper setup is essential. Begin by charging your inspection camera according to the manufacturer’s instructions. If your camera comes with software or apps for enhanced functionality, download and install them. Once everything is charged and connected, familiarize yourself with the controls. Adjust settings such as resolution and brightness based on your environment. Proper preparation sets the stage for a smooth inspection process, allowing you to focus on what matters most: the visuals.
Essential Techniques for Using Your Inspection Camera
Using an inspection camera effectively requires a bit of finesse. When positioning the camera, aim to hold it steady while angling it to get the best view of the area in question. It’s often helpful to move slowly and deliberately, allowing the camera’s lens to capture clear images without blurriness. Experiment with different distances and angles; sometimes, the best view is a slight adjustment away. Keep in mind that patience pays off—taking your time to set up the perfect shot will yield superior results.
Lighting Matters: Making the Most of Built-in Features
One of the standout features of many inspection cameras is their built-in lighting. In dark or confined spaces, adequate lighting can make all the difference in visibility. Most models offer adjustable brightness settings or LED lights that illuminate the area being inspected. When using your camera, take a moment to adjust these settings for optimal visibility. Sometimes, shadows can obscure crucial details, so play around with angles and lighting until you find the sweet spot where everything is clearly visible.
Navigating Tight Spaces: Strategies and Tips
Inspection cameras excel in tight or confined areas, but maneuvering can be tricky. Start by assessing the space you’re working in. If you’re inspecting a pipe, for instance, gently feed the camera’s cable into the opening while keeping it as straight as possible to avoid bending or kinking the cable. For wall inspections, angle the camera to get a broader view, checking both sides as you navigate. Patience is key; take your time to explore these areas thoroughly, capturing every detail without rushing.
Common Applications: When and Where to Use Your Camera
Inspection cameras are incredibly versatile, and they shine in various applications. In home inspections, they can reveal issues behind walls, such as mold or structural damage. Automotive technicians use them to inspect engines, brakes, and other critical components without disassembling parts. They’re also invaluable for HVAC professionals checking ductwork or identifying blockages. With such a broad range of uses, understanding where your camera can be applied will enhance your ability to tackle diverse projects confidently.
Troubleshooting Common Issues with Your Inspection Camera
Despite their user-friendly design, inspection cameras can encounter issues. Common problems include blurry images, poor connectivity, or malfunctioning lights. If you notice blurry visuals, check your distance from the object; getting too close can distort the image. For connectivity issues, ensure all cables are securely attached and that your device is compatible with the camera. Regularly inspect the lens for dust or debris, which can also affect image quality. Most importantly, consult your user manual for troubleshooting tips tailored to your specific model.
Taking Great Shots: Capturing Quality Images and Videos
Capturing high-quality images and videos is one of the primary reasons for using an inspection camera. To do this, focus on framing your shots. Center the subject in the viewfinder and avoid excessive movements while recording. Use the camera’s zoom function sparingly to prevent losing clarity. After recording, review your footage to ensure it meets your expectations. For later reference or reporting, save your best shots in an organized manner, labeling them according to the project or inspection area.
Understanding and Analyzing What You See
Interpreting the images captured by your inspection camera is crucial for effective assessments. Pay attention to color variations, shapes, and any irregularities in the footage. These details can indicate potential issues, such as leaks, blockages, or structural damage. If you’re unsure about what you’re seeing, consider consulting with a professional or utilizing online resources. Understanding the nuances of what your camera reveals will help you make informed decisions and address problems more effectively.
Maintenance Tips: Keeping Your Inspection Camera in Top Shape
To ensure the longevity of your inspection camera, regular maintenance is vital. After each use, clean the lens with a soft, lint-free cloth to remove dust or debris. Store the camera in a cool, dry place, ideally in a protective case, to prevent damage. Regularly check the cables for any signs of wear or tear. If your camera requires firmware updates, be proactive about keeping it current to benefit from improvements and new features. Proper care will not only enhance performance but also extend the life of your investment.
Conclusion: Elevate Your Inspection Skills Like a Pro
Using an inspection camera effectively can transform your approach to projects, allowing you to explore and diagnose issues with confidence. By selecting the right camera, familiarizing yourself with its components, and mastering essential techniques, you can become proficient in no time. Whether you’re inspecting your home, vehicle, or any hidden space, these tools are your gateway to clarity. Embrace the potential of inspection cameras, and elevate your skills to ensure you’re always prepared for the next challenge. Happy inspecting!